Shaker Pegboard Installation Instructions
Needed for Installation
Glue
Pencil
Tape Measure
Level
Drill with 1/16” bit
--plus--
Hammer, 8d Finish Nails, and Nail Set
--or--
Screwdriver, Countersink Bit, and #8×2” Flathead Wood or Drywall Screws
Introduction
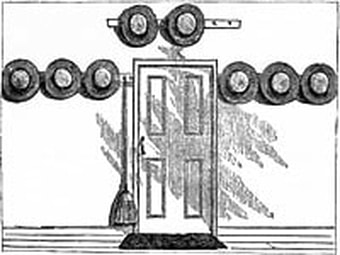
Usually, the Shakers installed the pegboard before the room was finished, attaching it directly to the studs and then plastering or drywalling around it so that it was nearly flush with the wall. There was no “standard” height from the floor; this seems to have varied according to the use of the room. Generally, a single pegboard was installed about even with the top of the doors (not the top of the door frame). A second row of pegboard was sometimes installed about 18” below the first row.
The Shakers usually painted or stained both the pegboard and pegs. Sometimes, the pegboard itself was painted and the pegs were stained and varnished (or even left unfinished).
Installation
To install pegs in the pegboard (in the case of kits), simply apply a small amount of glue to the sides of the holes and insert the pegs. It may be necessary to sand or file the tenons of the pegs in order for them to fit into the holes, but be careful not to make them too loose. They should fit very tightly.
Locate studs along the wall and mark with pencil. Determine height and, using a level, mark with pencil.
Use one of the following methods to mount the pegboard on a finished wall with wooden studs:
For Nailing
Drill pilot holes through the v-groove in the bead moldings (top and bottom) and over the studs. Attach pegboard to studs with finishing nails. Set the nail heads into the grooves. Fill the nail holes, if desired.
For Screwing
Drill and countersink holes along the centerline of the pegboard and over the studs. Attach pegboard to studs with flat head wood screws or drywall screws. Screw holes may be plugged or filled, if desired.
Use this method to mount the pegboard on a finished wall with metal studs:
Drill and countersink holes along the centerline of the pegboard and over the studs. Attach pegboard to studs with drywall screws. Screw holes may be plugged or filled, if desired.
Note: these instructions assume a basic level of competency in handwork and safe working procedures, and are meant as a general guideline only. Shaker Workshops assumes no liability for their use.

